Make the menu yours
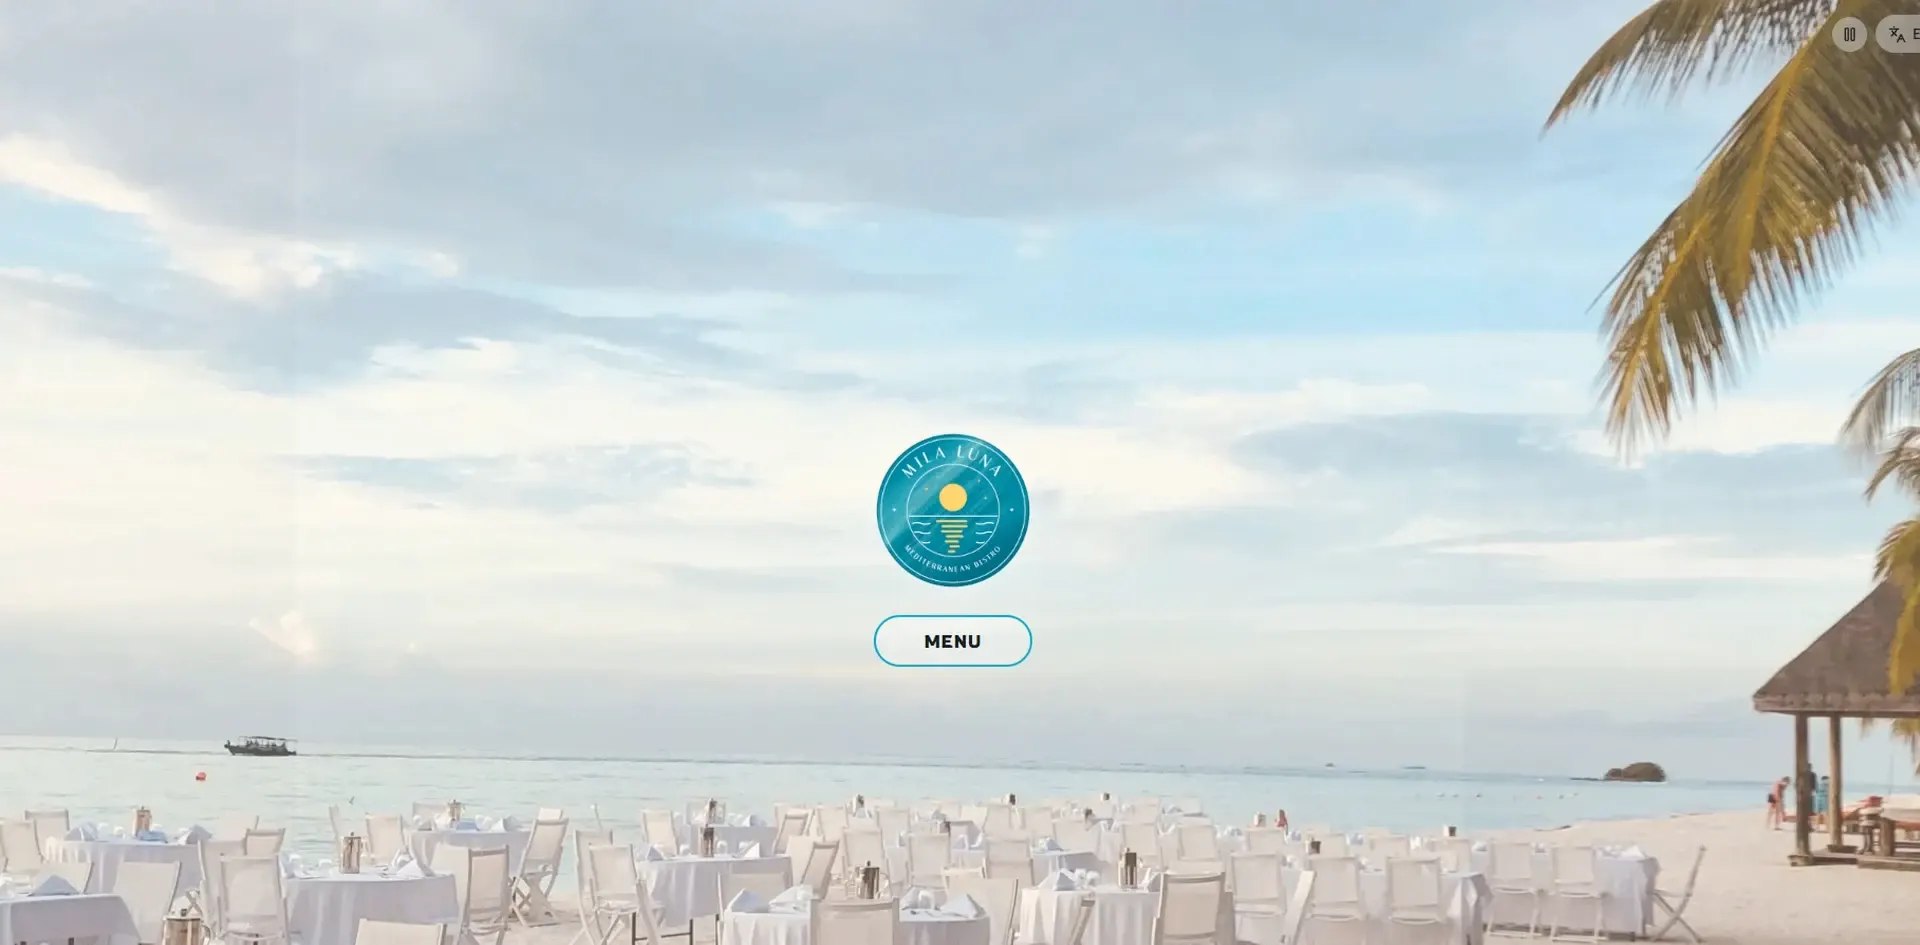
Upload your logo, pick header photos for phones and computers, and set the header text and your accent colour.
Logo, photo and the Menu button: this is what guests see first. With a few settings, your menu wears your brand’s colours.
Upload your logo
-
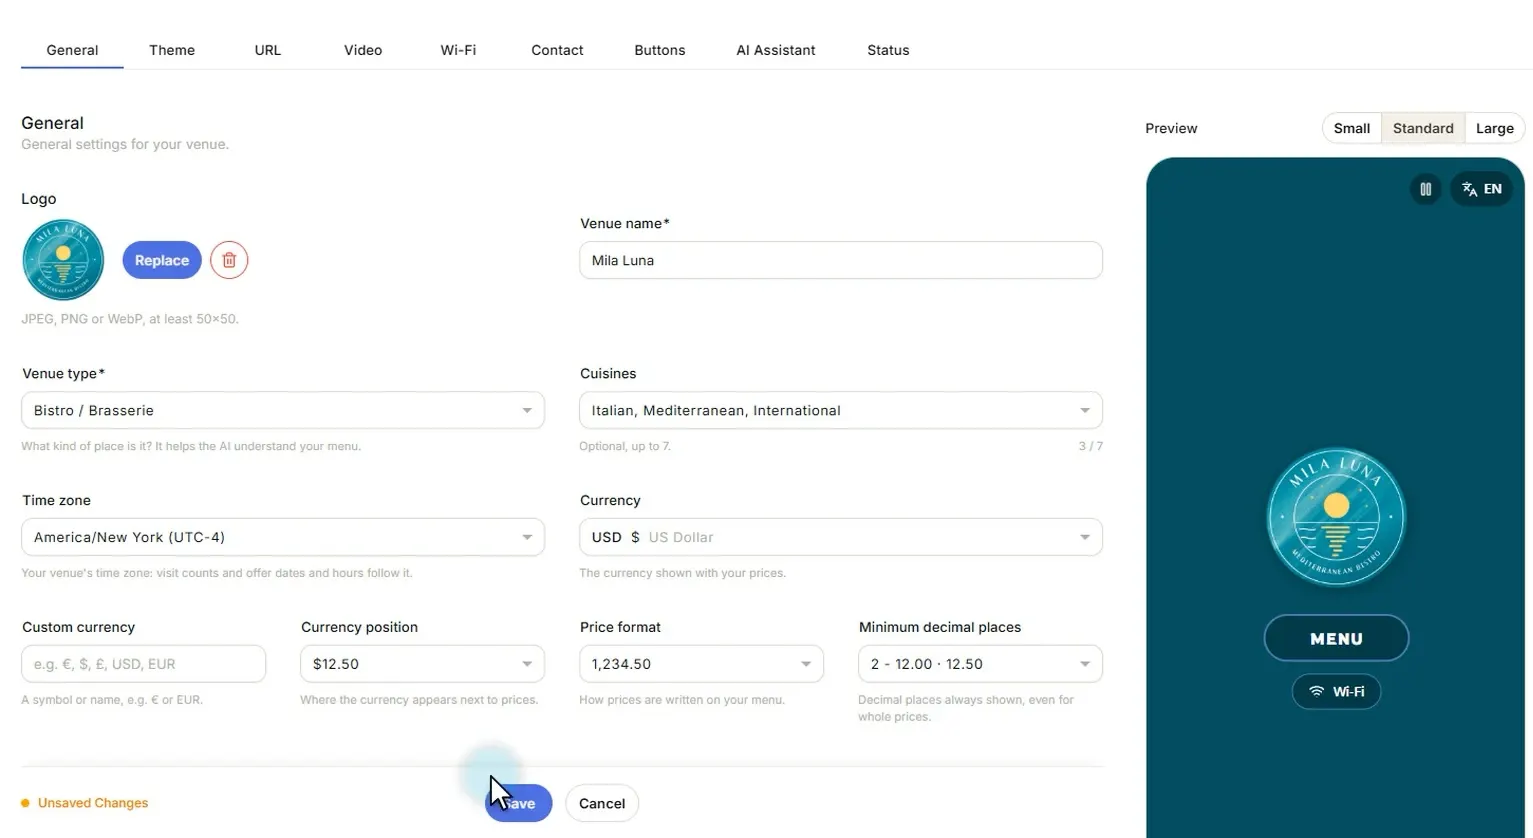
Open Settings and, on the General tab, upload your logo. It shows up in the preview straight away.
-
Click Save.
Set up the header
-
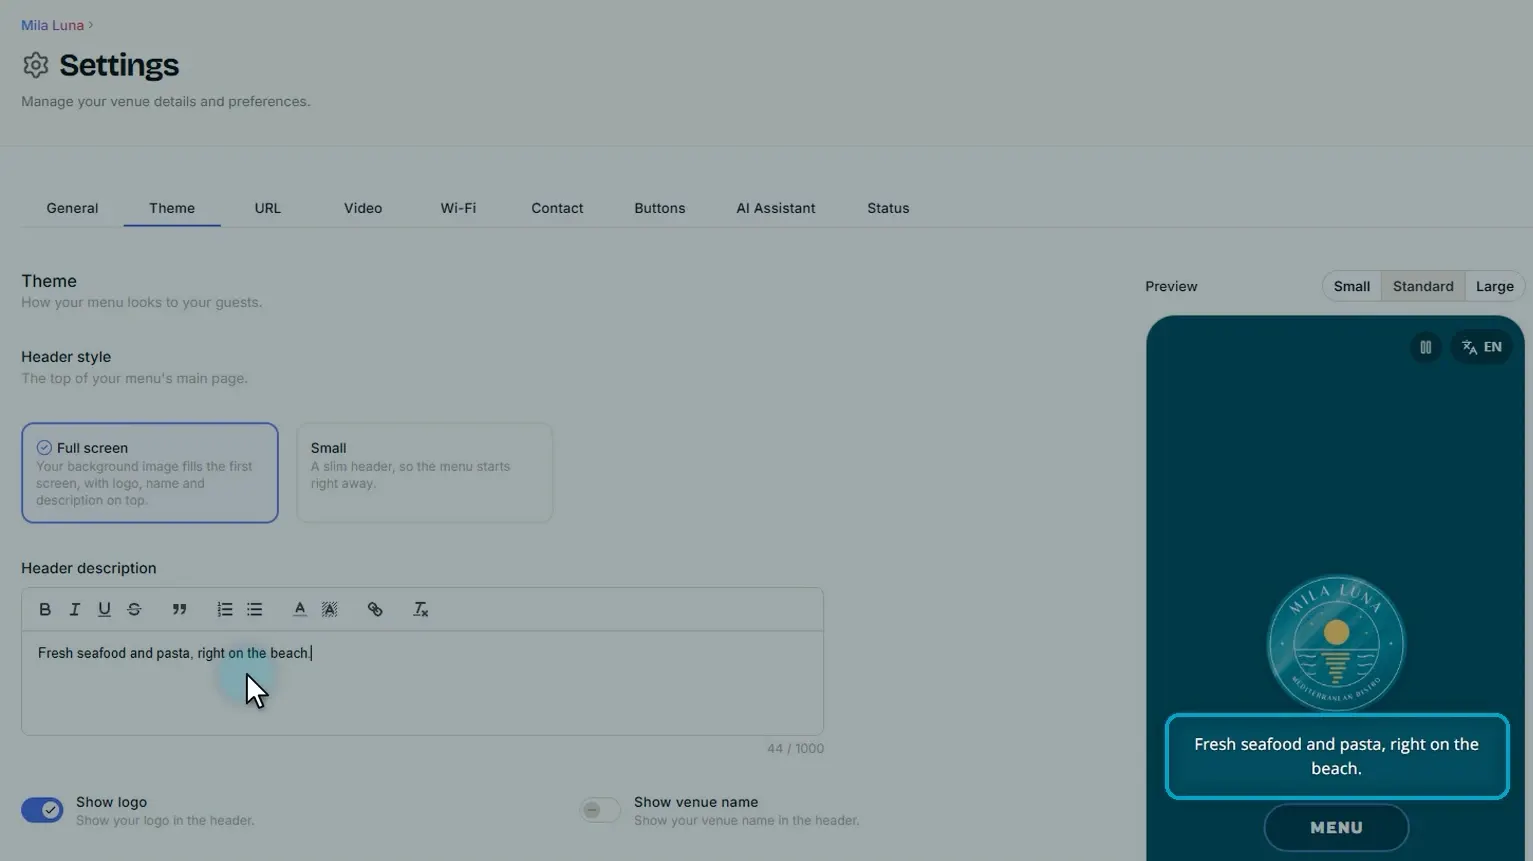
Open the Theme tab.
-
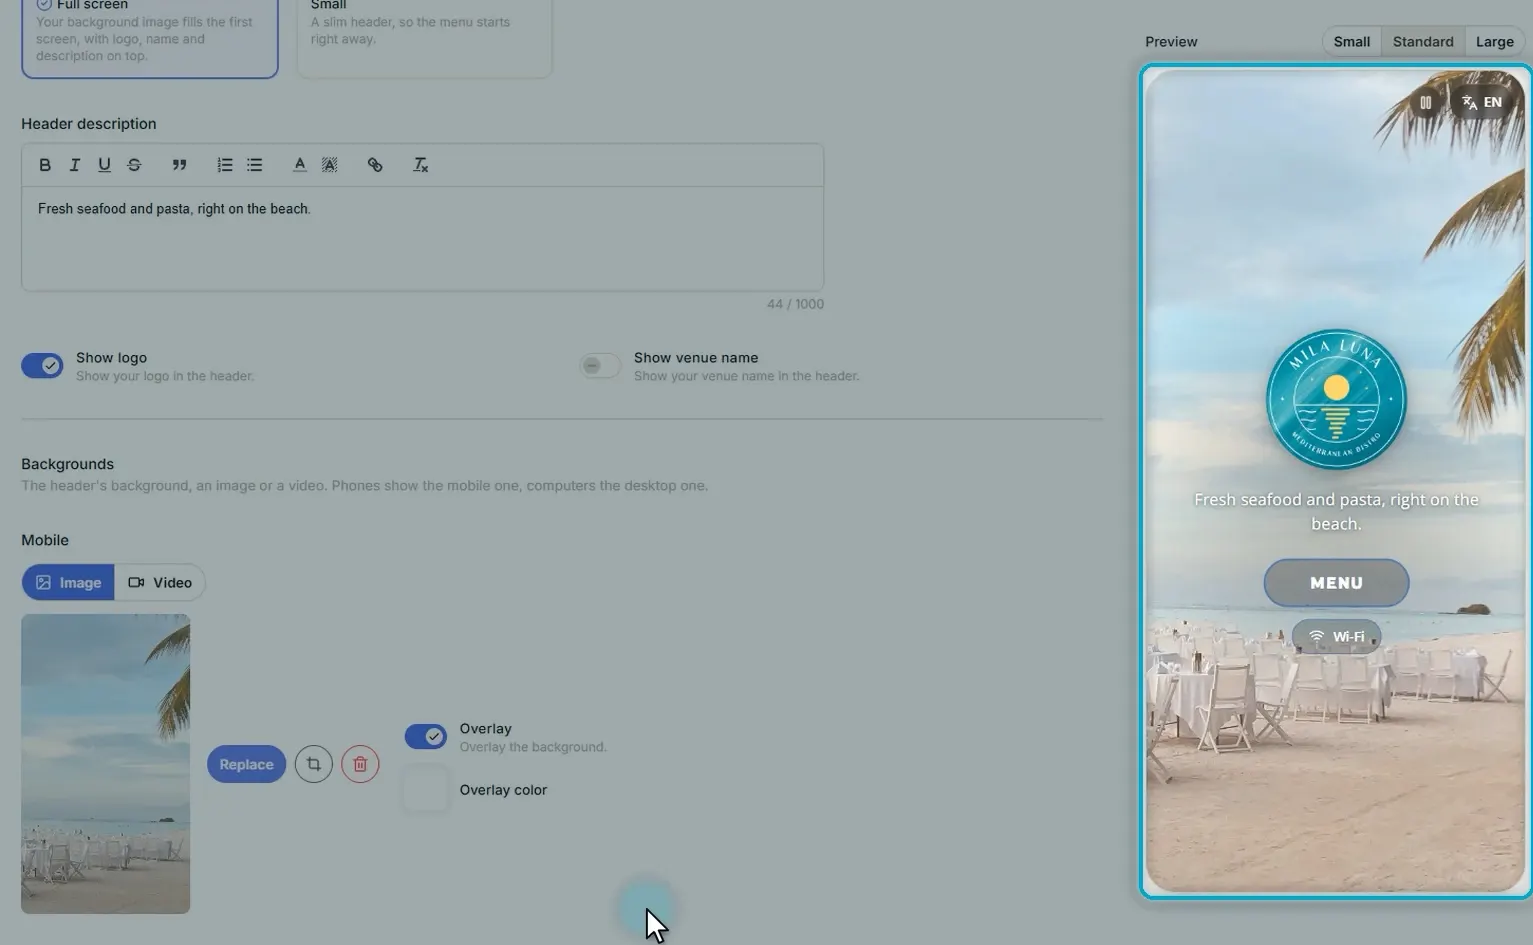
If you like, write a short welcome line under Header description. Leave it empty if you prefer the photo on its own.
-
Under Backgrounds, upload a photo for phones, choose the part guests will see and click Apply.
-
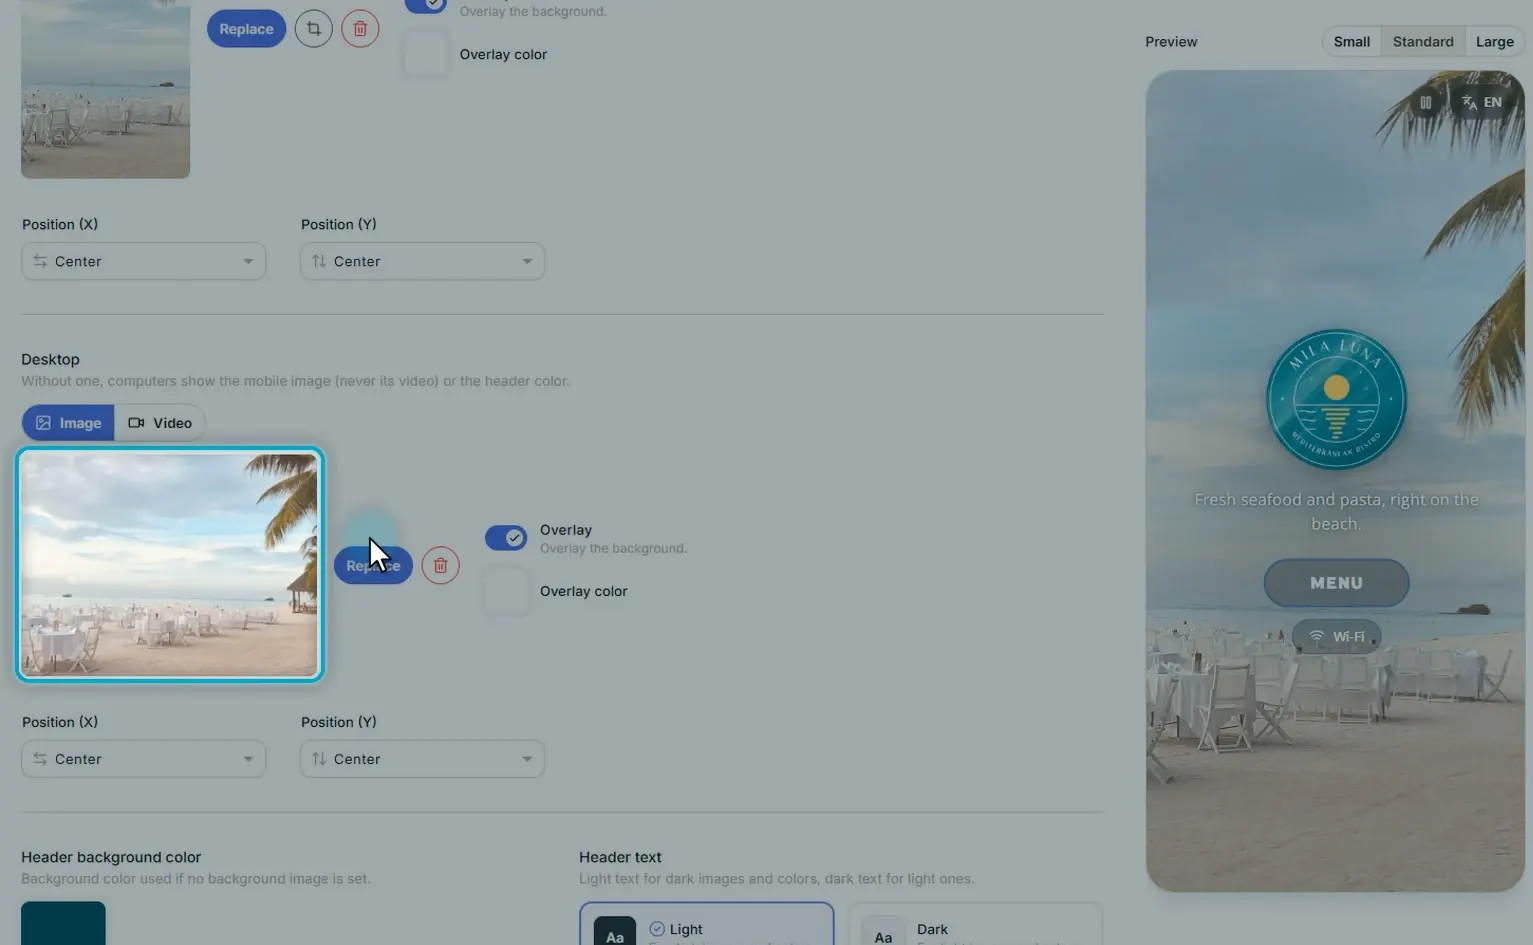
Under Desktop, add a wider photo for computers.
-
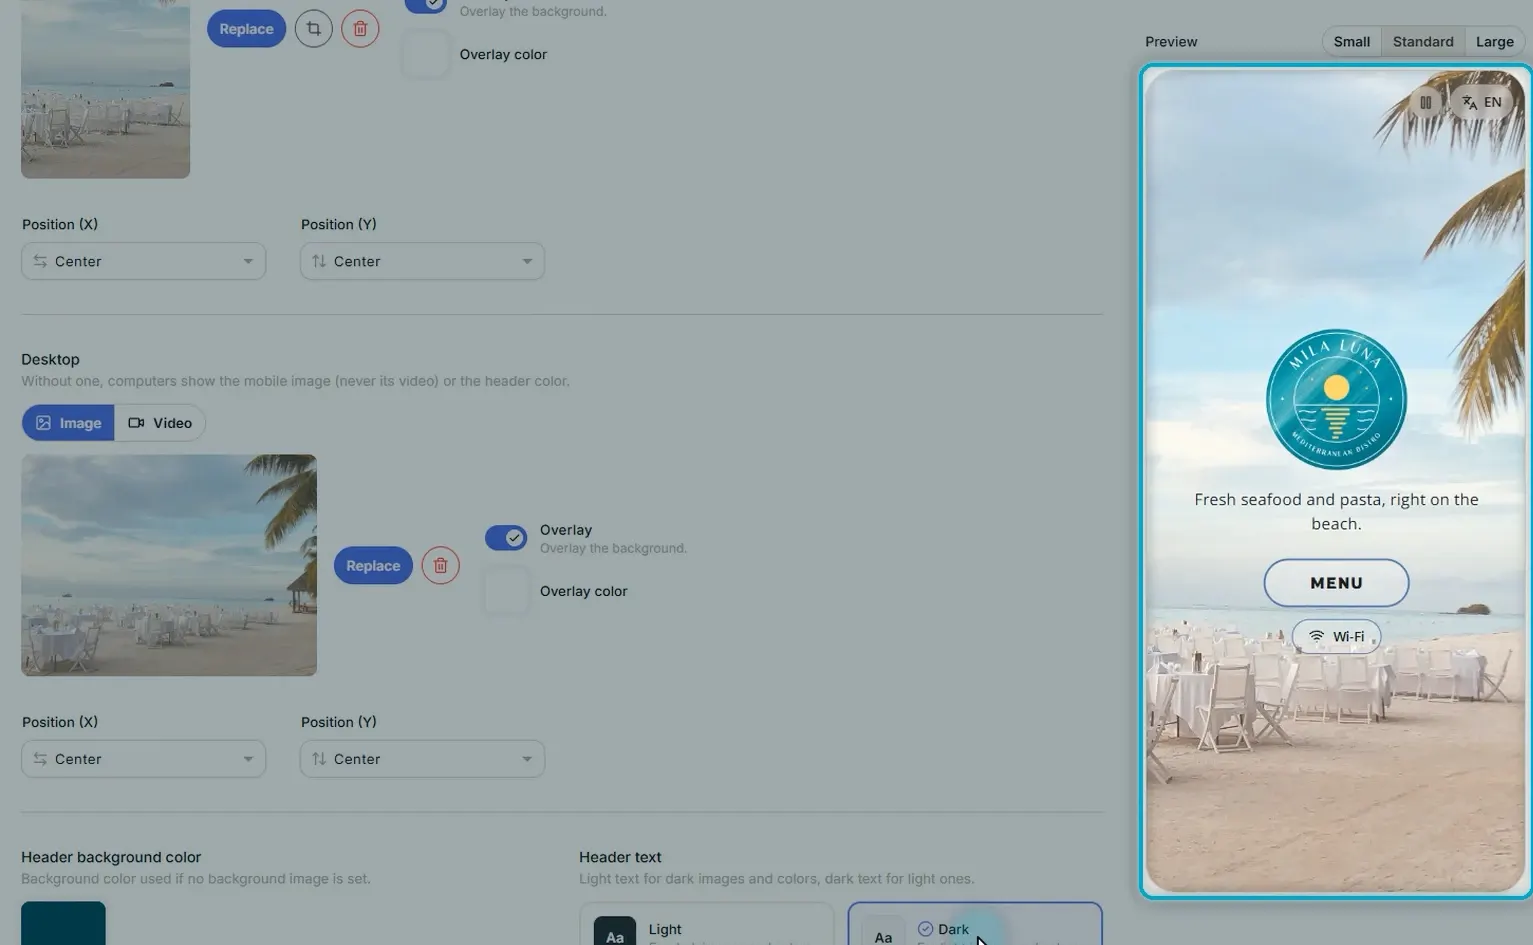
If the photo is bright, set Header text to Dark so the words and buttons are easy to read.
Choose your accent colour
-
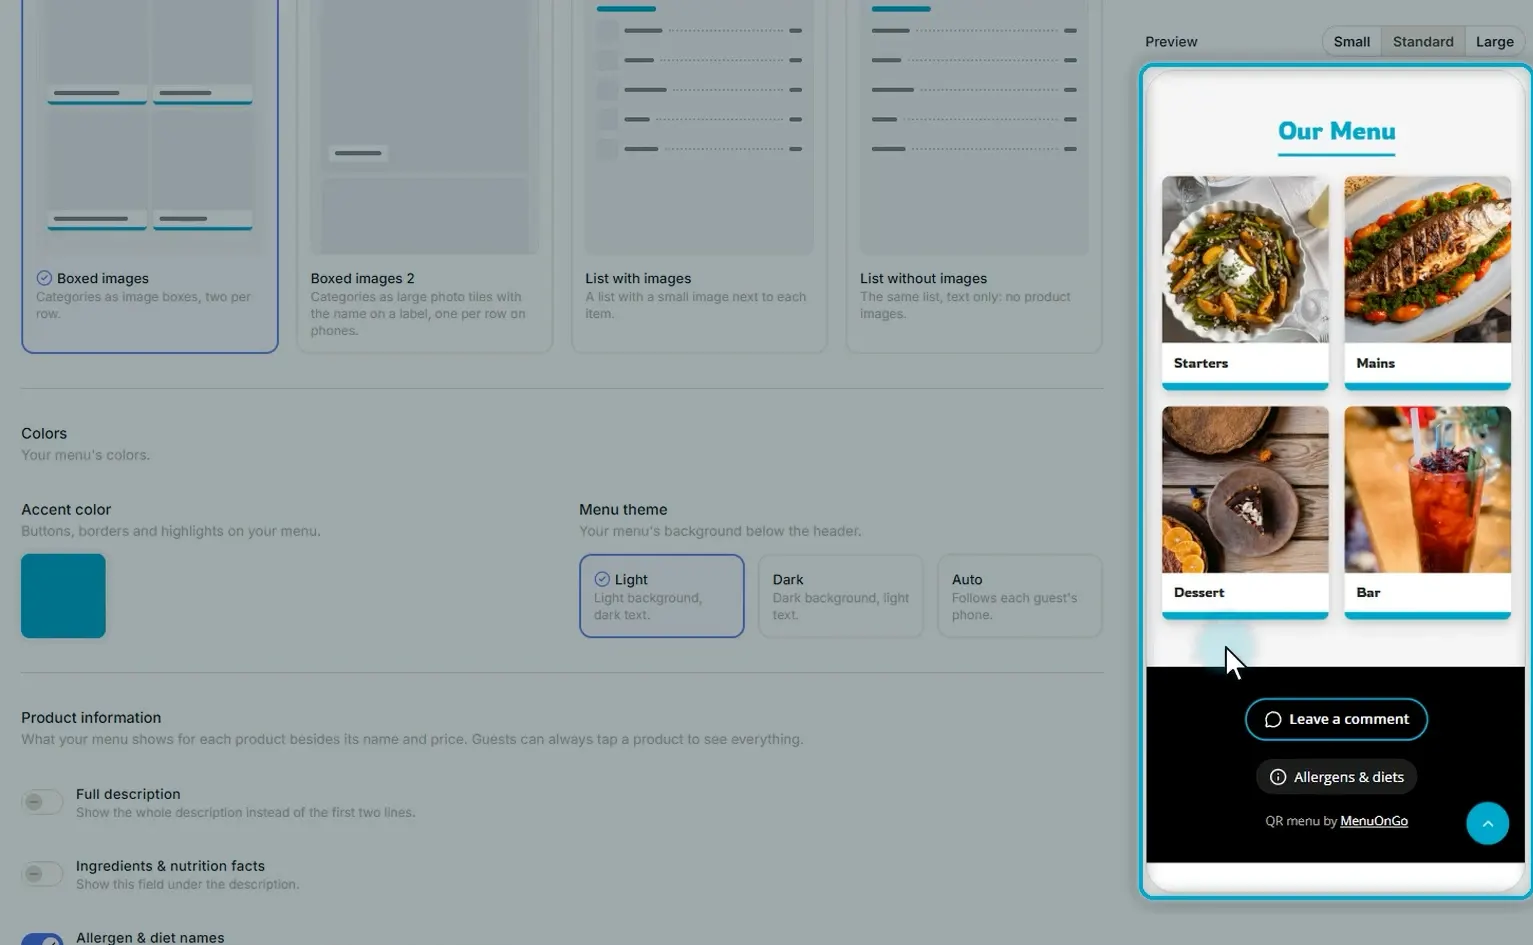
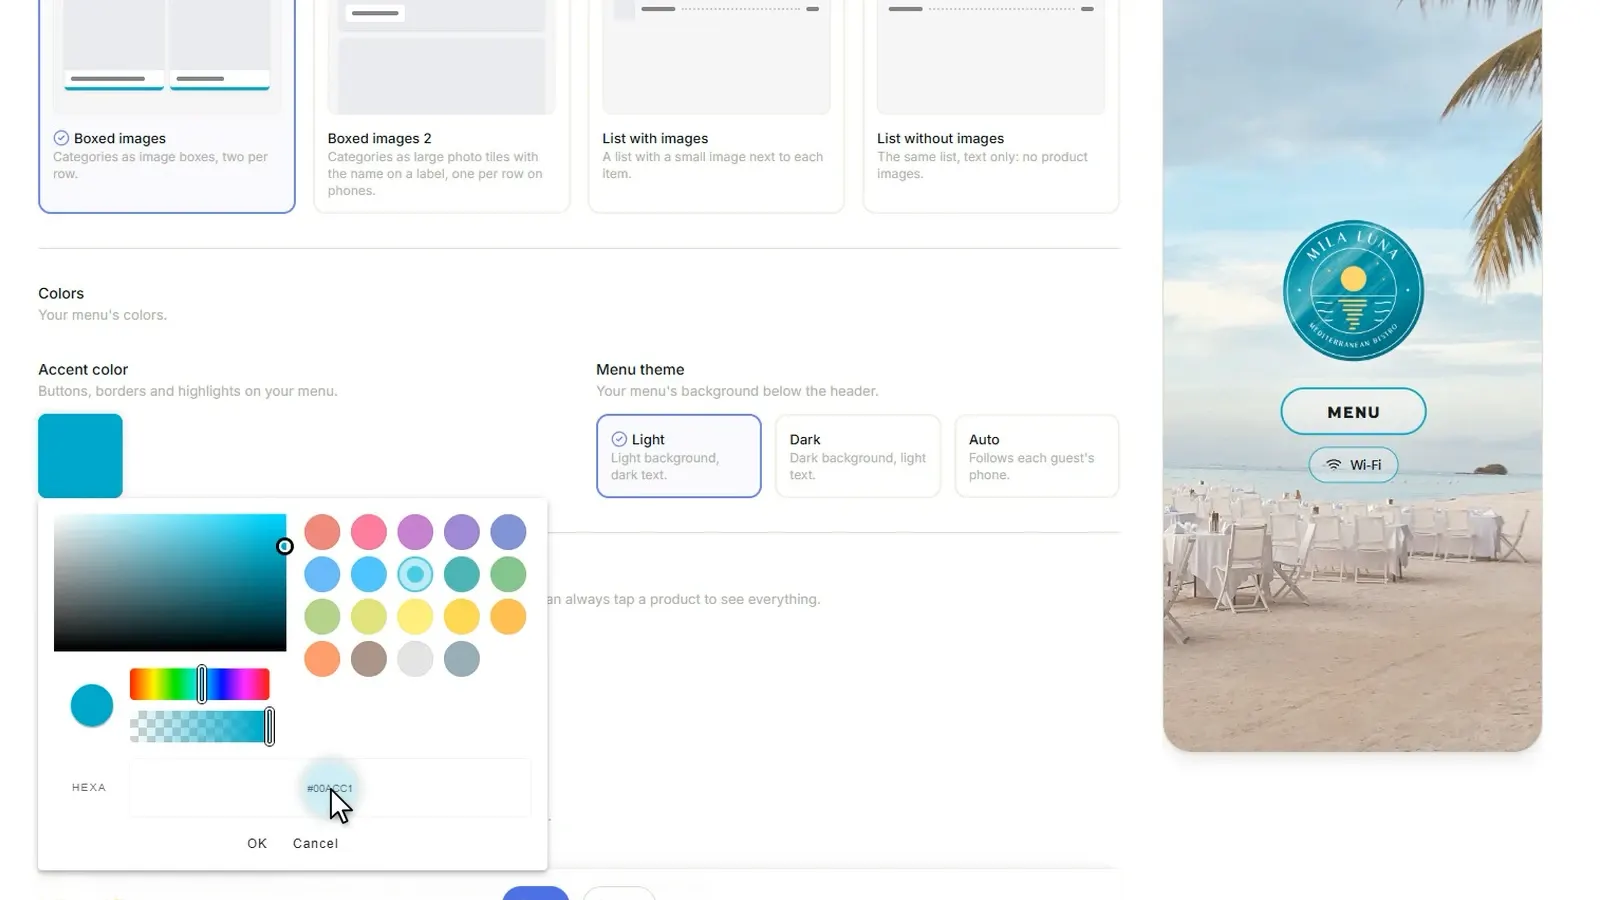
Under Colors, click Accent color.
-
Type the colour code from your logo, or pick the colour by hand. Buttons, borders and highlights switch to it.
-
Click Save to publish your changes.
Tap Menu in the preview to check the inside pages: titles, cards and buttons use the same colour. Same colours all the way down: your menu, your brand.