
Speak your guests’ language
Add a language to your menu, translate it with AI, check and publish the translations, and set the order of your languages.
The language you write your menu in is the menu language. Guests can switch the menu to any of your published languages.
Add a new language
-
On the Translations page, click Add language.
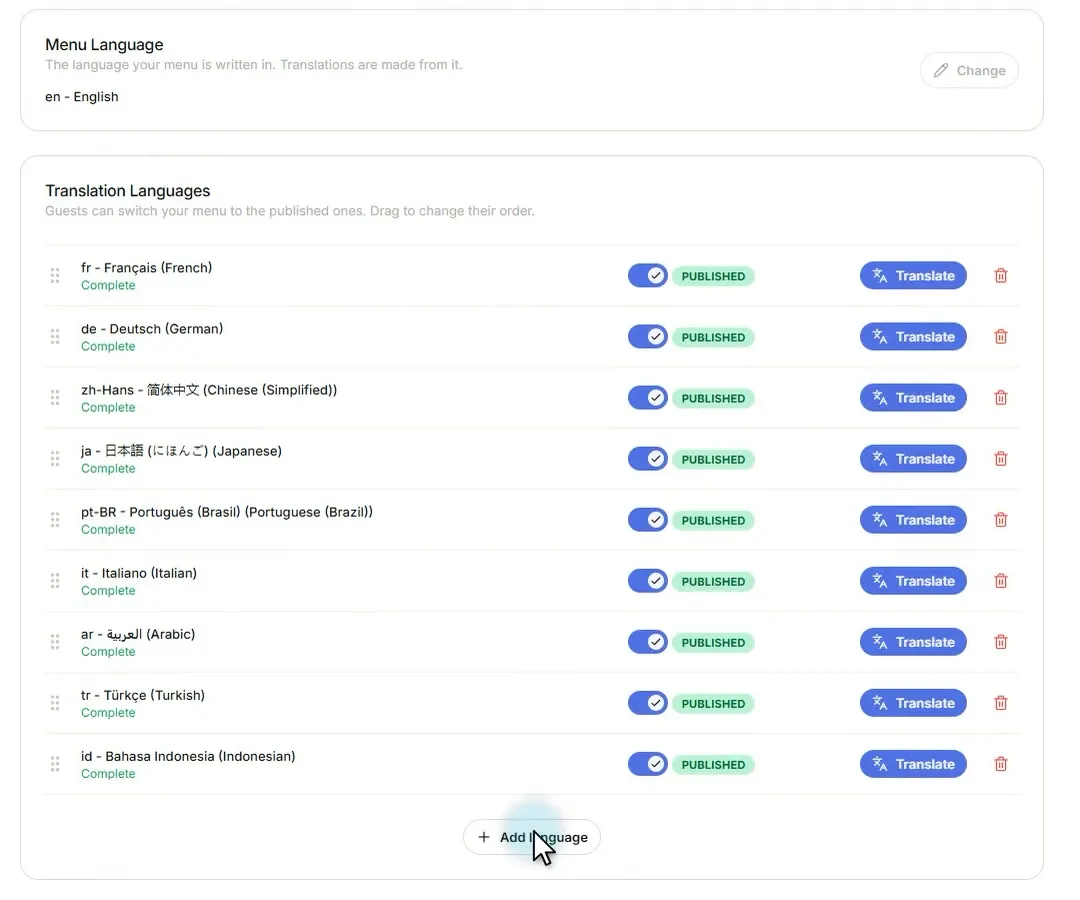
-
Search for the language you want and click Select. The language is added but not published yet, so guests can’t see it.
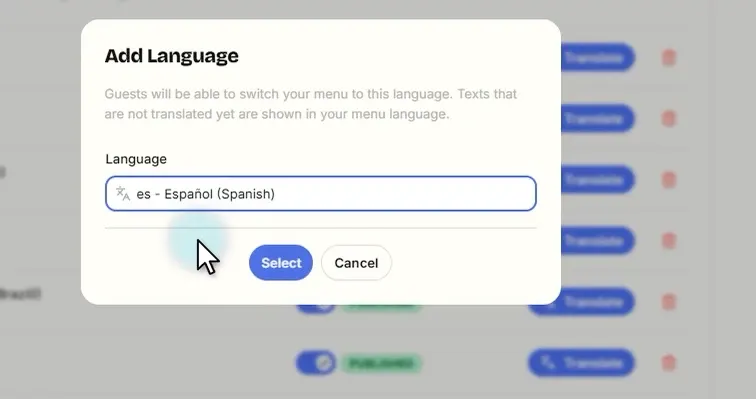
Translate and check
-
Click Translate next to the language. You see how many texts still need a translation.
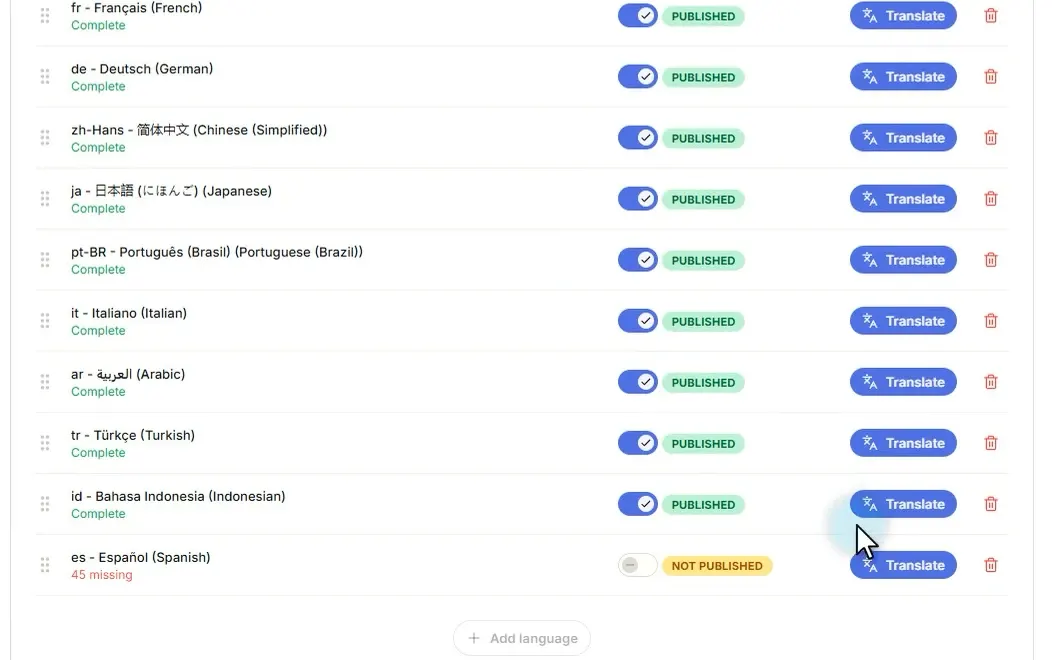
-
Click Translate with AI. AI translates every dish, description, category and offer.
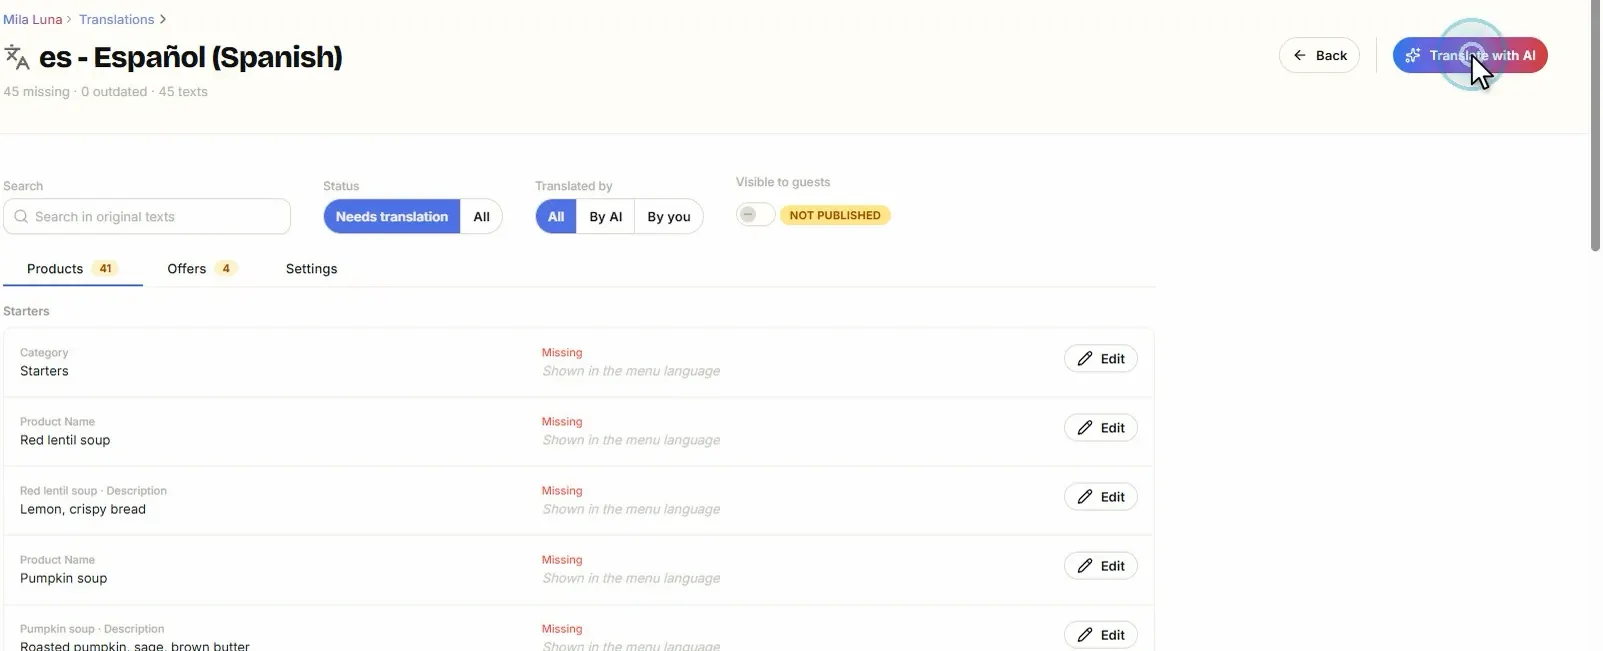
-
When it’s done, check the translations before you publish.
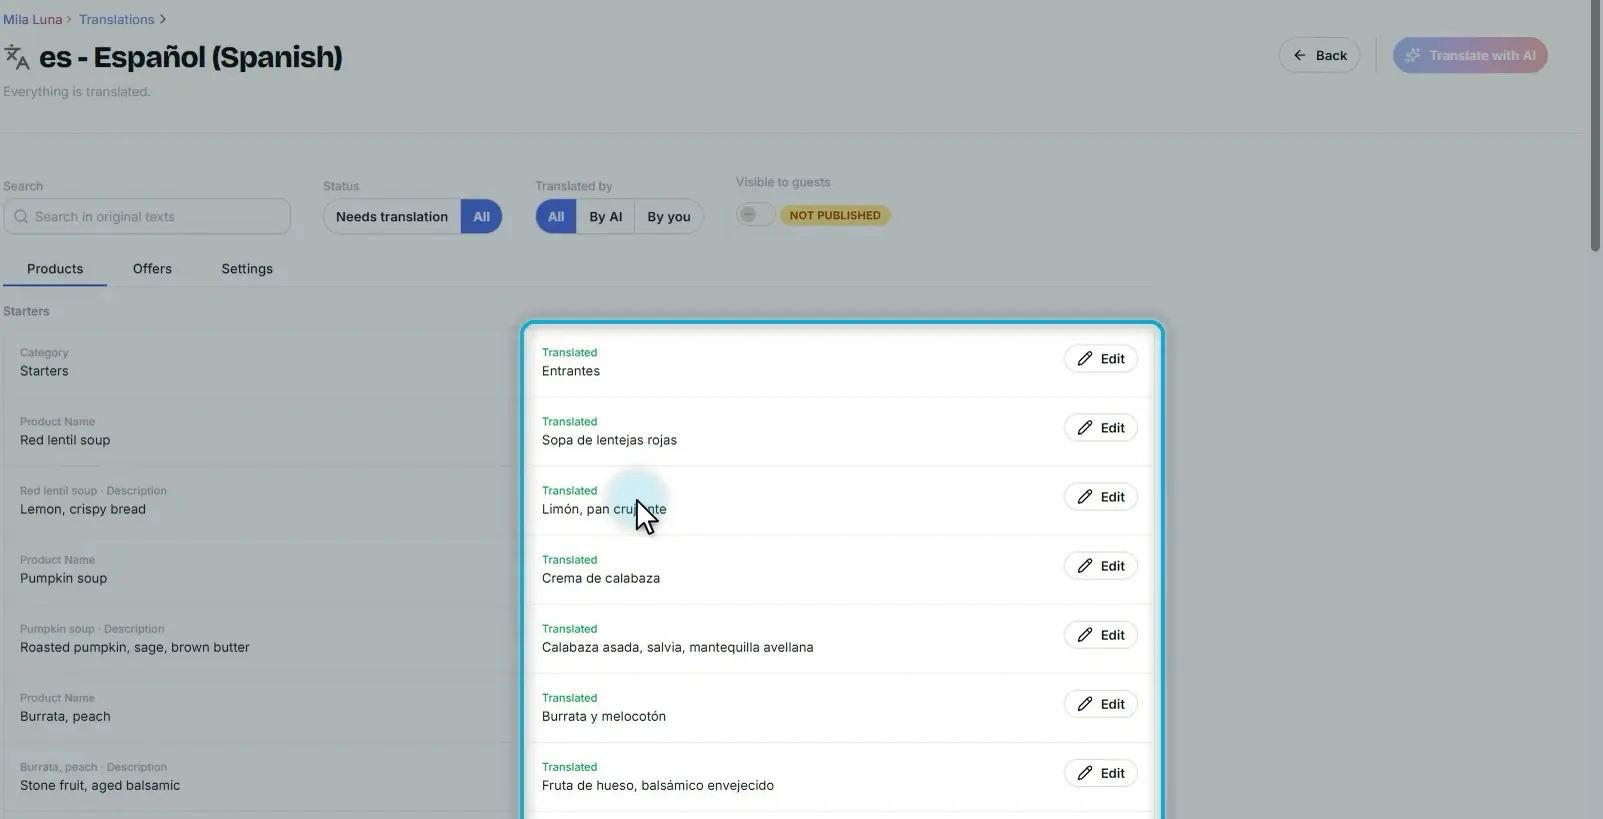
-
Want different wording? Search for the dish, click Edit, type your own words in the language’s field and click Save. Your change is marked Edited by you.
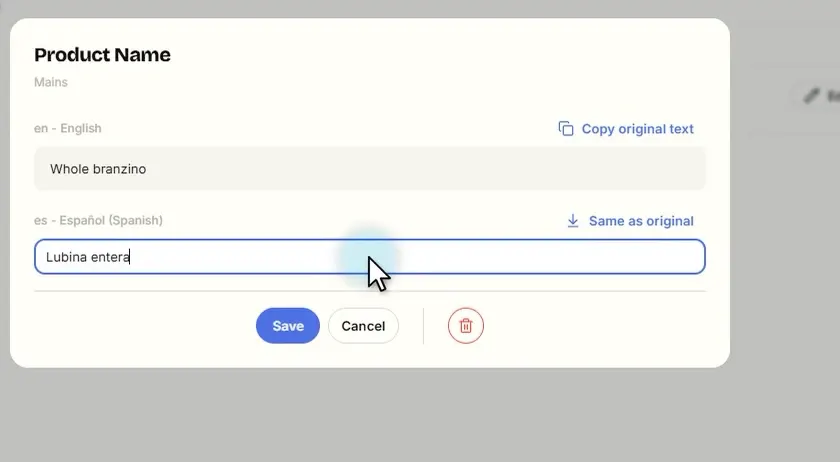
Publish and order
-
All good? Switch on Visible to guests. The language is published, and guests can choose it now.
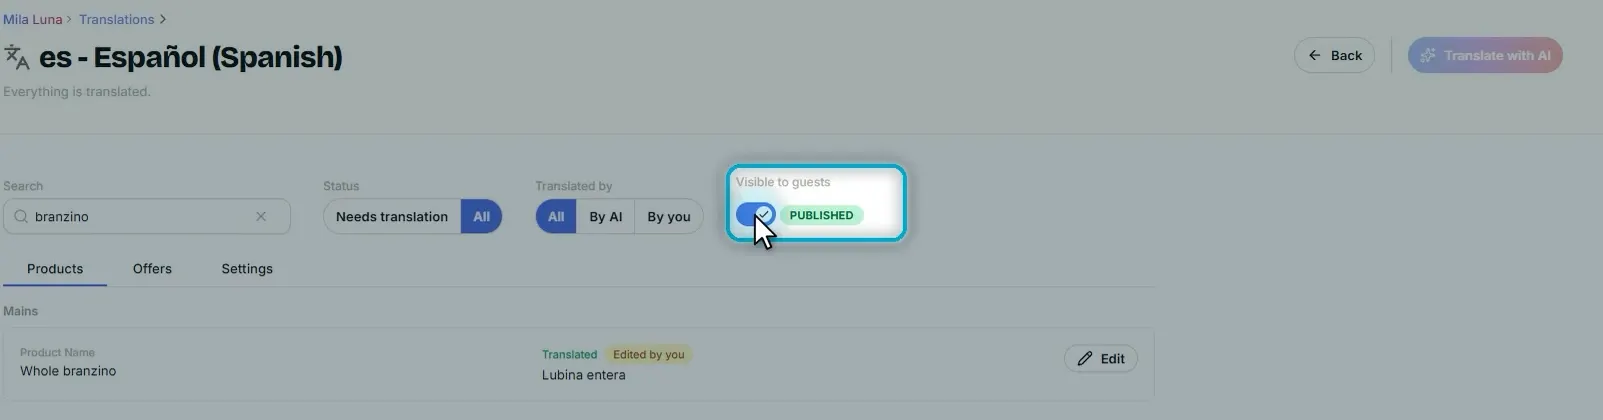
-
Go back to your languages. Guests see them in this order; drag a language to where you want it.
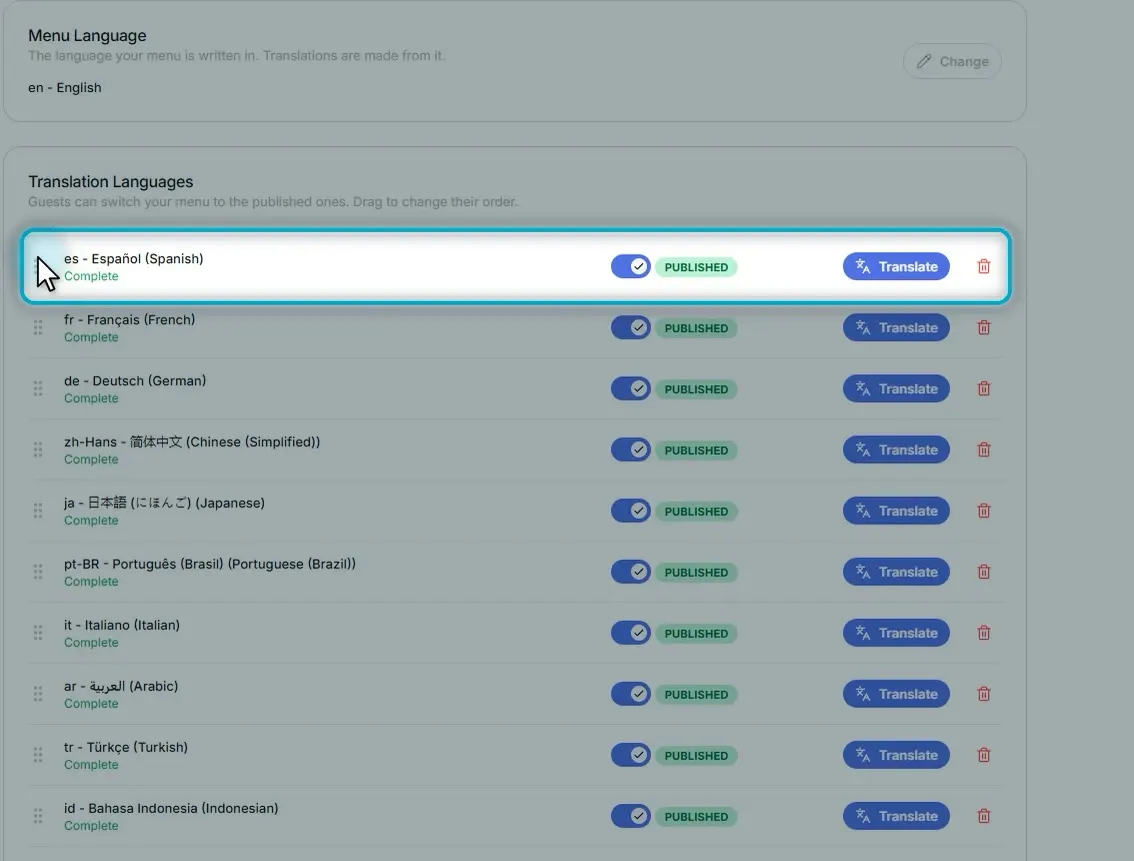
-
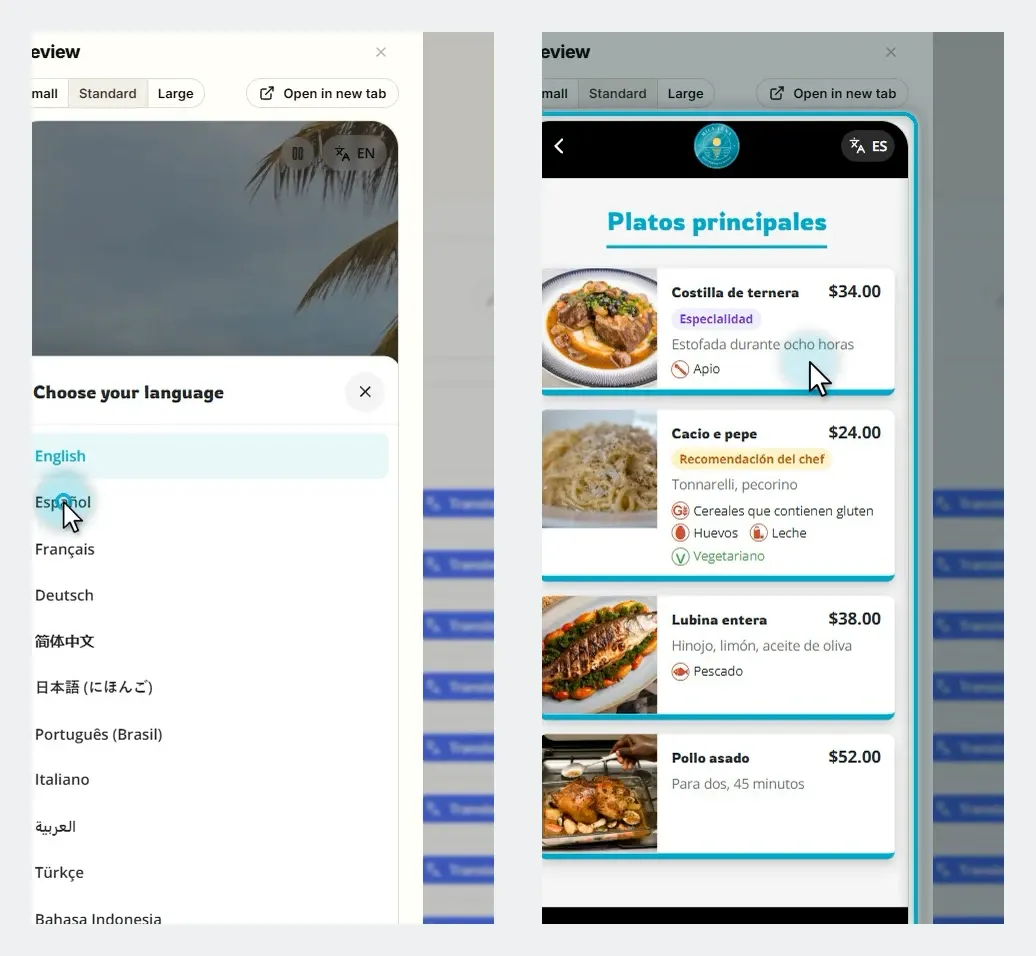
To see it as a guest, open Preview and change the language on the menu. The whole menu switches, your own edits included.
You can add up to 10 languages, all the same way.