
From paper to digital: import your menu
Upload photos of your printed menu; AI reads the categories, dishes and prices, and you check them before saving.
If you have a printed menu, names and prices are all you need. AI reads the rest, and you check everything before you save.
Read your menu
-
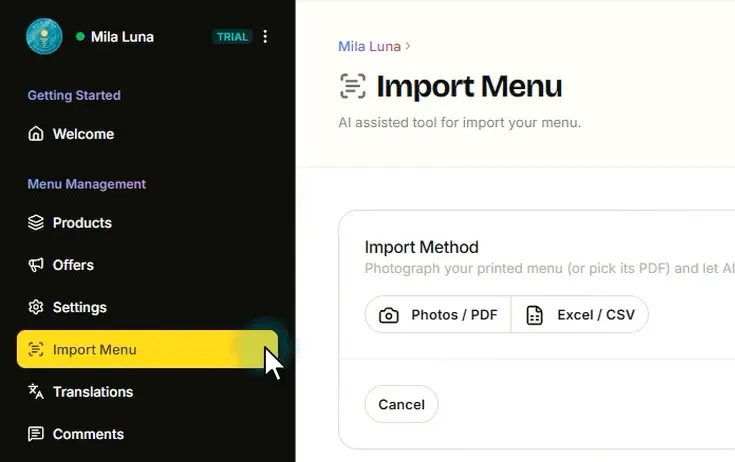
Open Import Menu from the menu on the left.
-
Choose Photos / PDF.
-
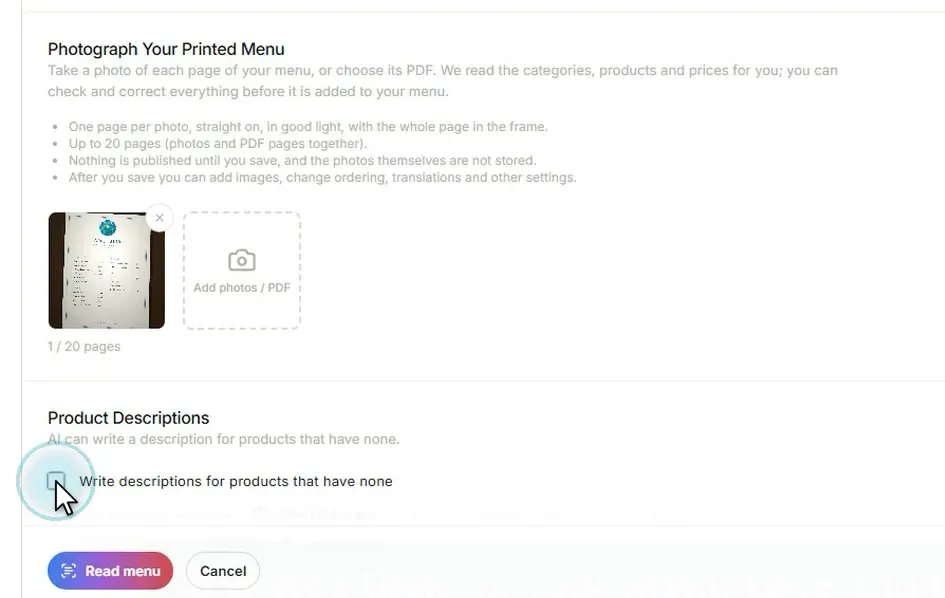
Add a photo of each page of your menu. Each photo counts as one page; you can upload up to 20 pages.
-
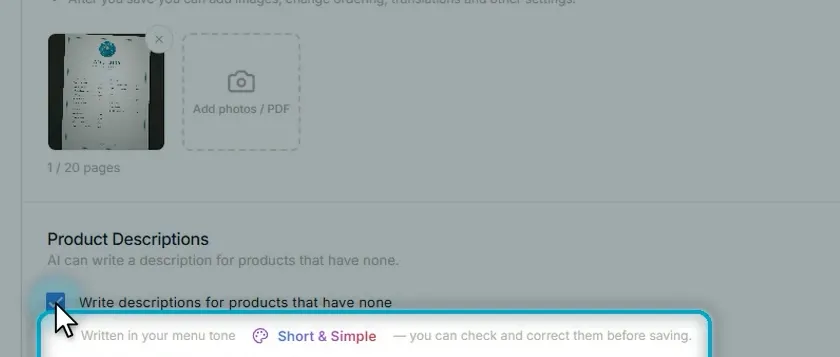
If you want product descriptions too, tick the box. AI writes them in your menu’s tone and language.
-
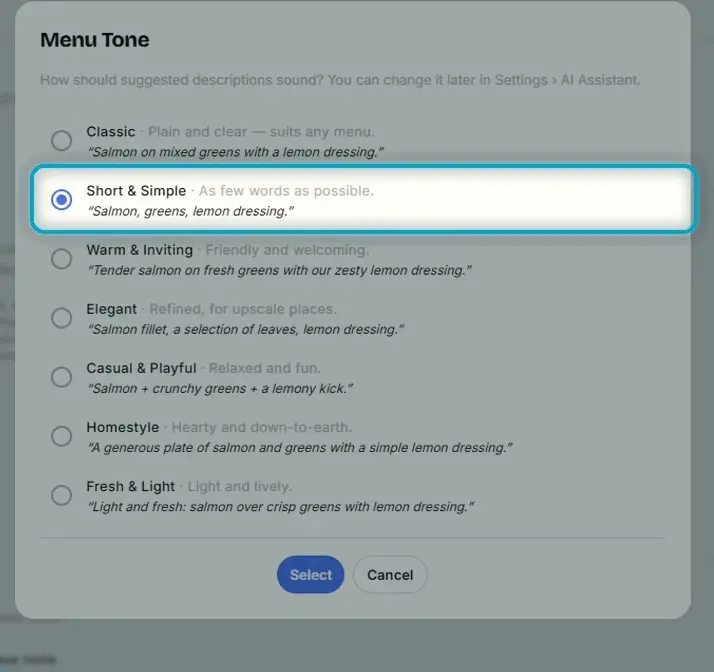
To change the tone, click it, pick one (for example Short & Simple, which keeps every line brief) and click Select.
-
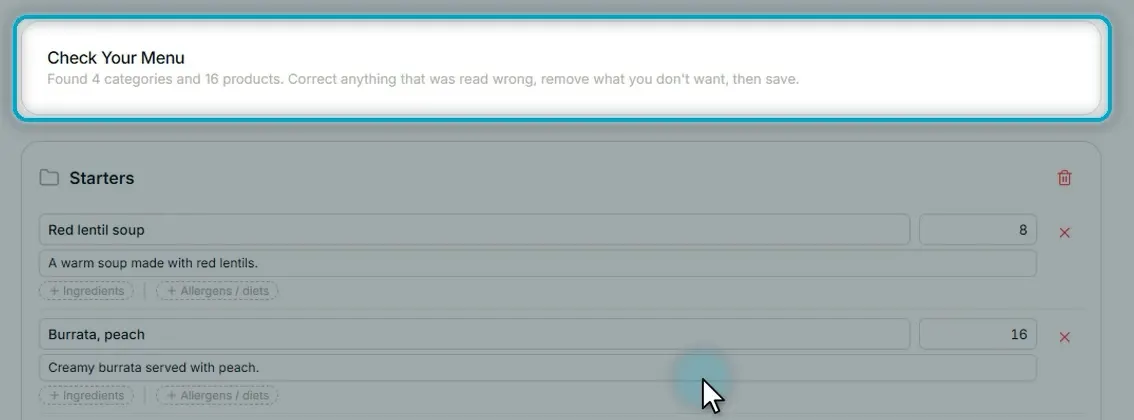
Click Read menu. AI reads the categories, dishes and prices, and shows how many categories and products it found.
Check and save
-
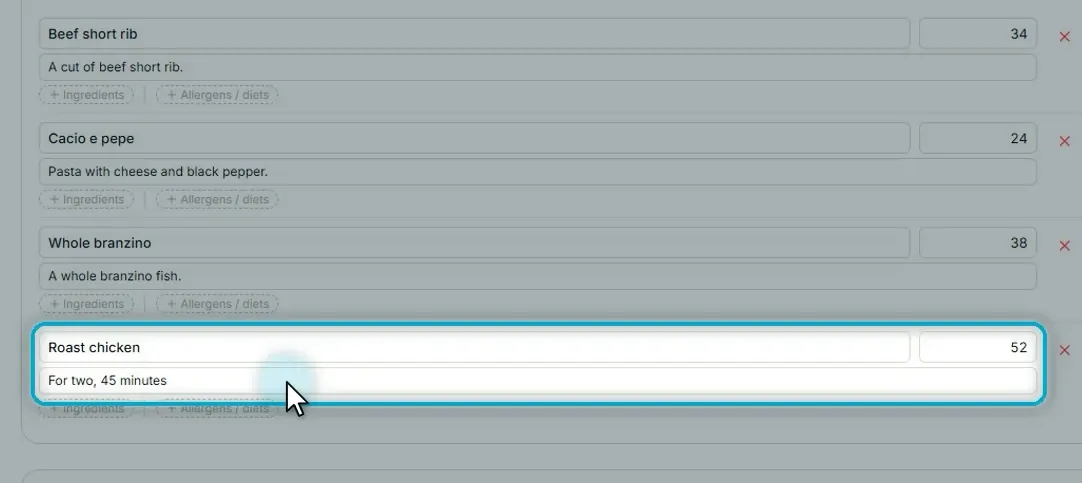
Review everything before it goes on your menu; fix any name, note or price right here.
-
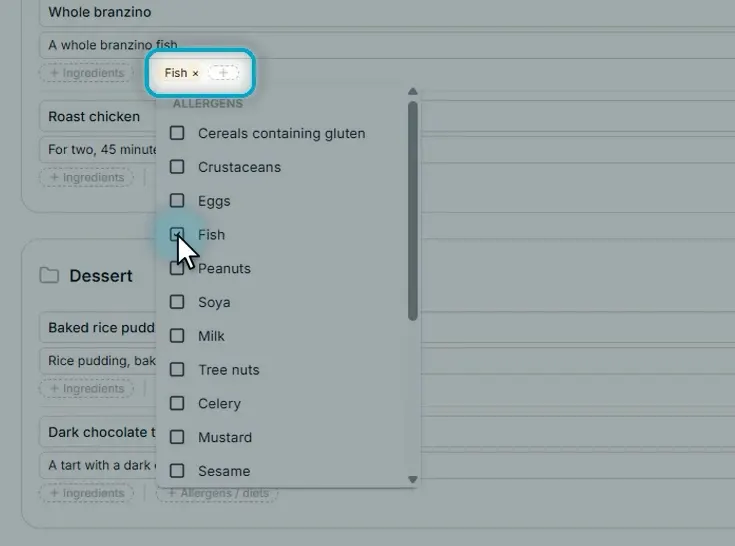
You can add allergens and diets to any dish. Branzino is fish, for example: tick the Fish allergen.
-
If your menu already has products, keep them or replace the whole menu.
-
Click Save products (the button shows how many products will be saved).

Your menu is in, in just a few minutes. Next step: add photos and details to every dish.